Test App#
The best way to start you journey with SyncStage is by trying out our example project available on GitHub SyncStage Test App for Android. This tutorial shows you how to clone, build, and run the application on your device. The recommended development environment is Android Studio.
Set up your development project#
Follow these steps to create the Test App project in Android Studio.
- Download and install Android Studio.
- Clone or download the SyncStage Test App for Android repository from GitHub.
- Import the project:
- In Android Studio, select File > New > Import Project.
- Go to the location where you saved the SyncStage Test App for Android repository.
- Find SyncStage project at this location.
- Select the project directory, then click Open. Android Studio now builds your project, using the Gradle build tool.
Get a SyncStage SDK secret#
To run the SyncStage Test App you need to add a SyncStageSecret.json file to your Android Studio project to the assets folder.
Don't know how to get the secret file? See our Quickstart Guide for more details.
Build and run your app#
To build and run the app:
- Connect an Android device to your computer.
- Follow the provided guidelines to activate developer options on your Android device and configure your system to detect the connected device.
- In Android Studio, click the Run menu option (or button)
- Select a device.
- Android Studio invokes Gradle to build the app, and then runs it.
Note
Android SyncStage SDK is not optimized against x86-64 architecture. Audio transmission might not work correctly in using the virtual device (AVD).
Use the app#
Create a session#
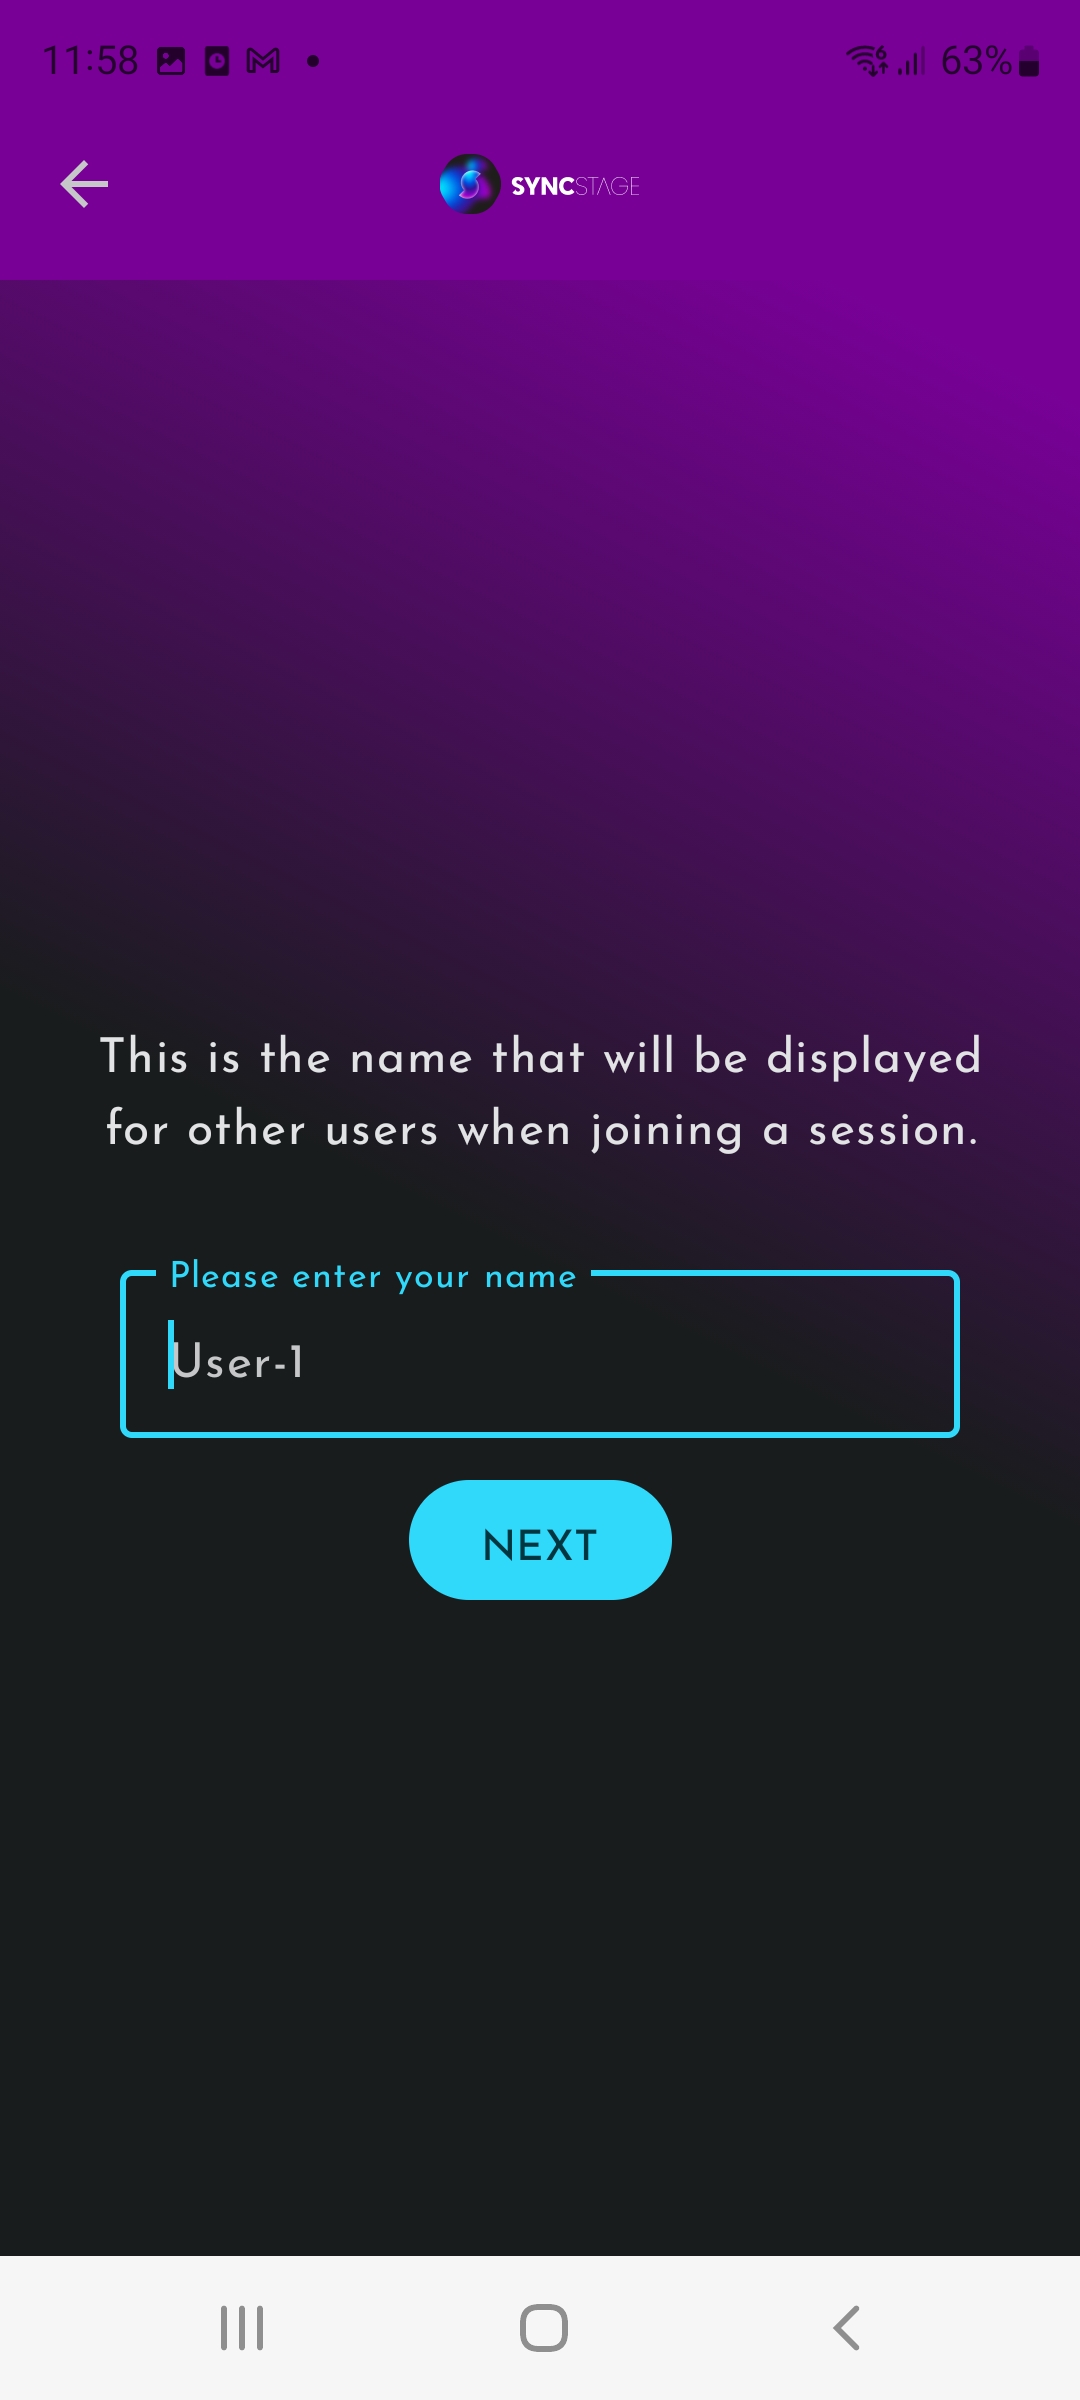
- Provide a nickname, e.g. User-1.
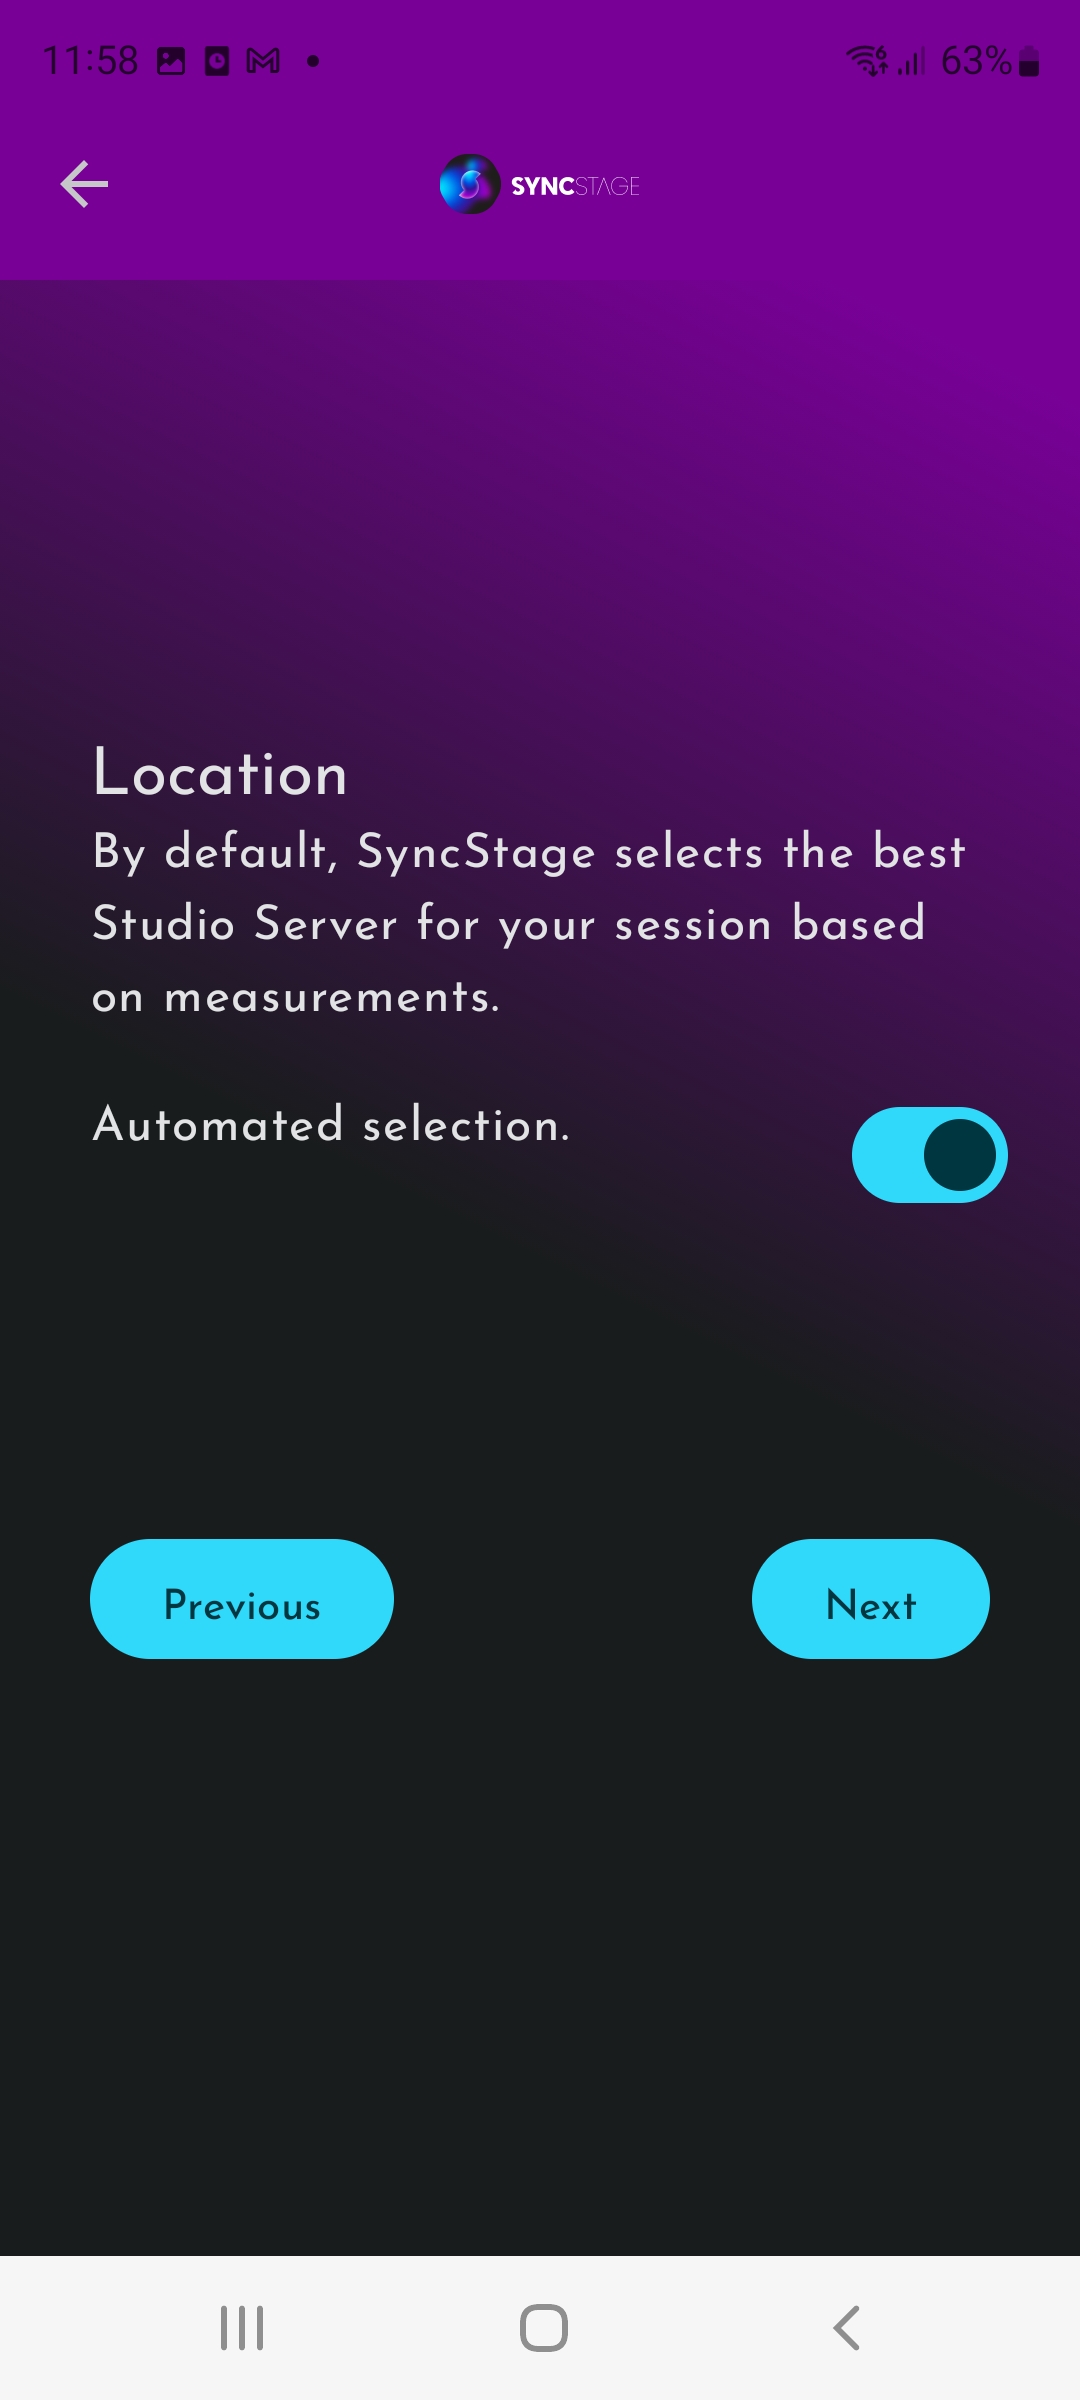
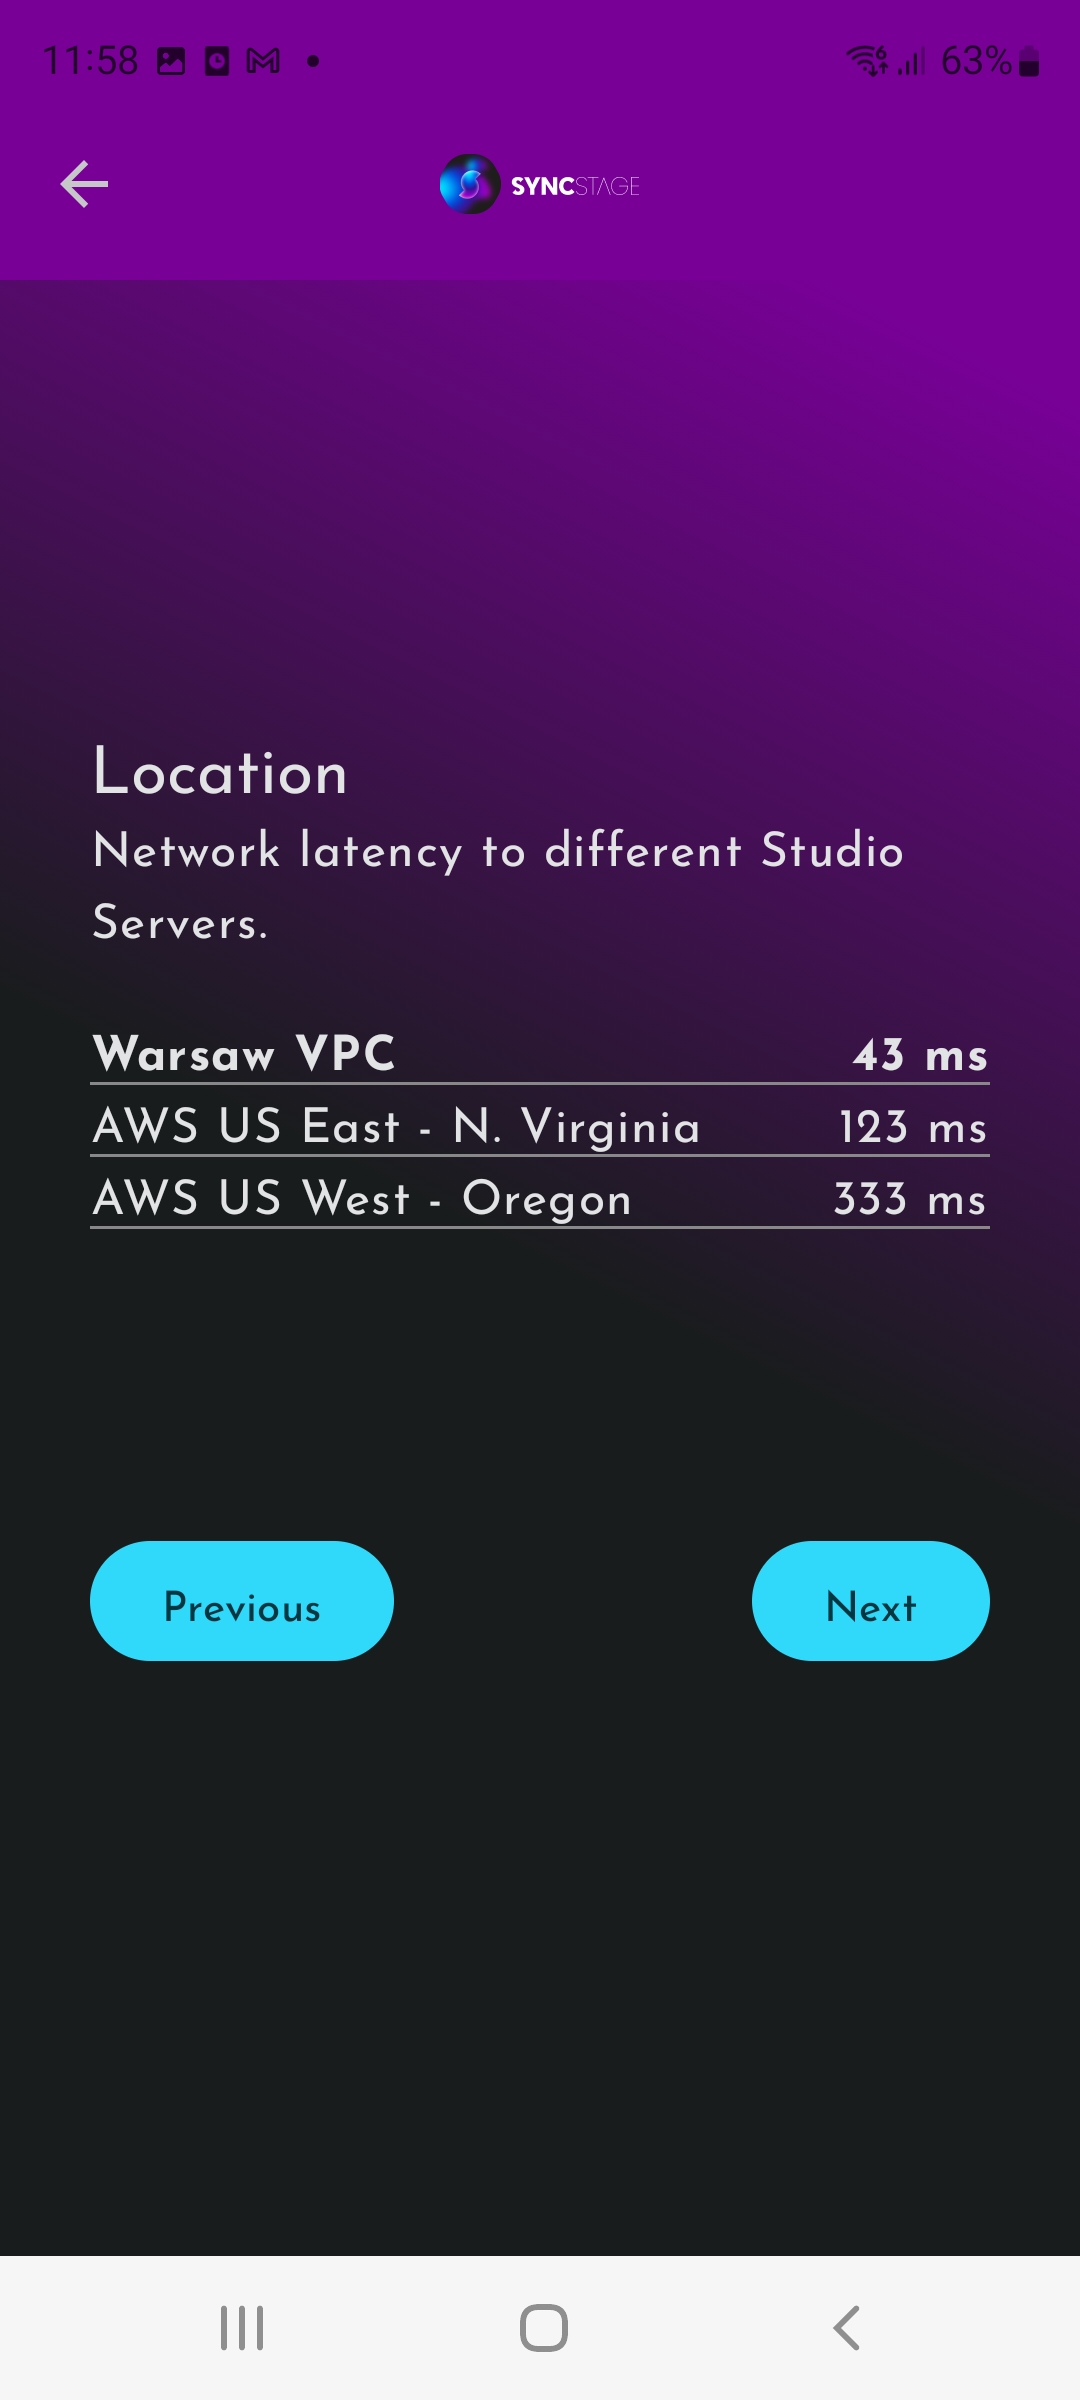
- Let SyncStage find the best Studio Server location.
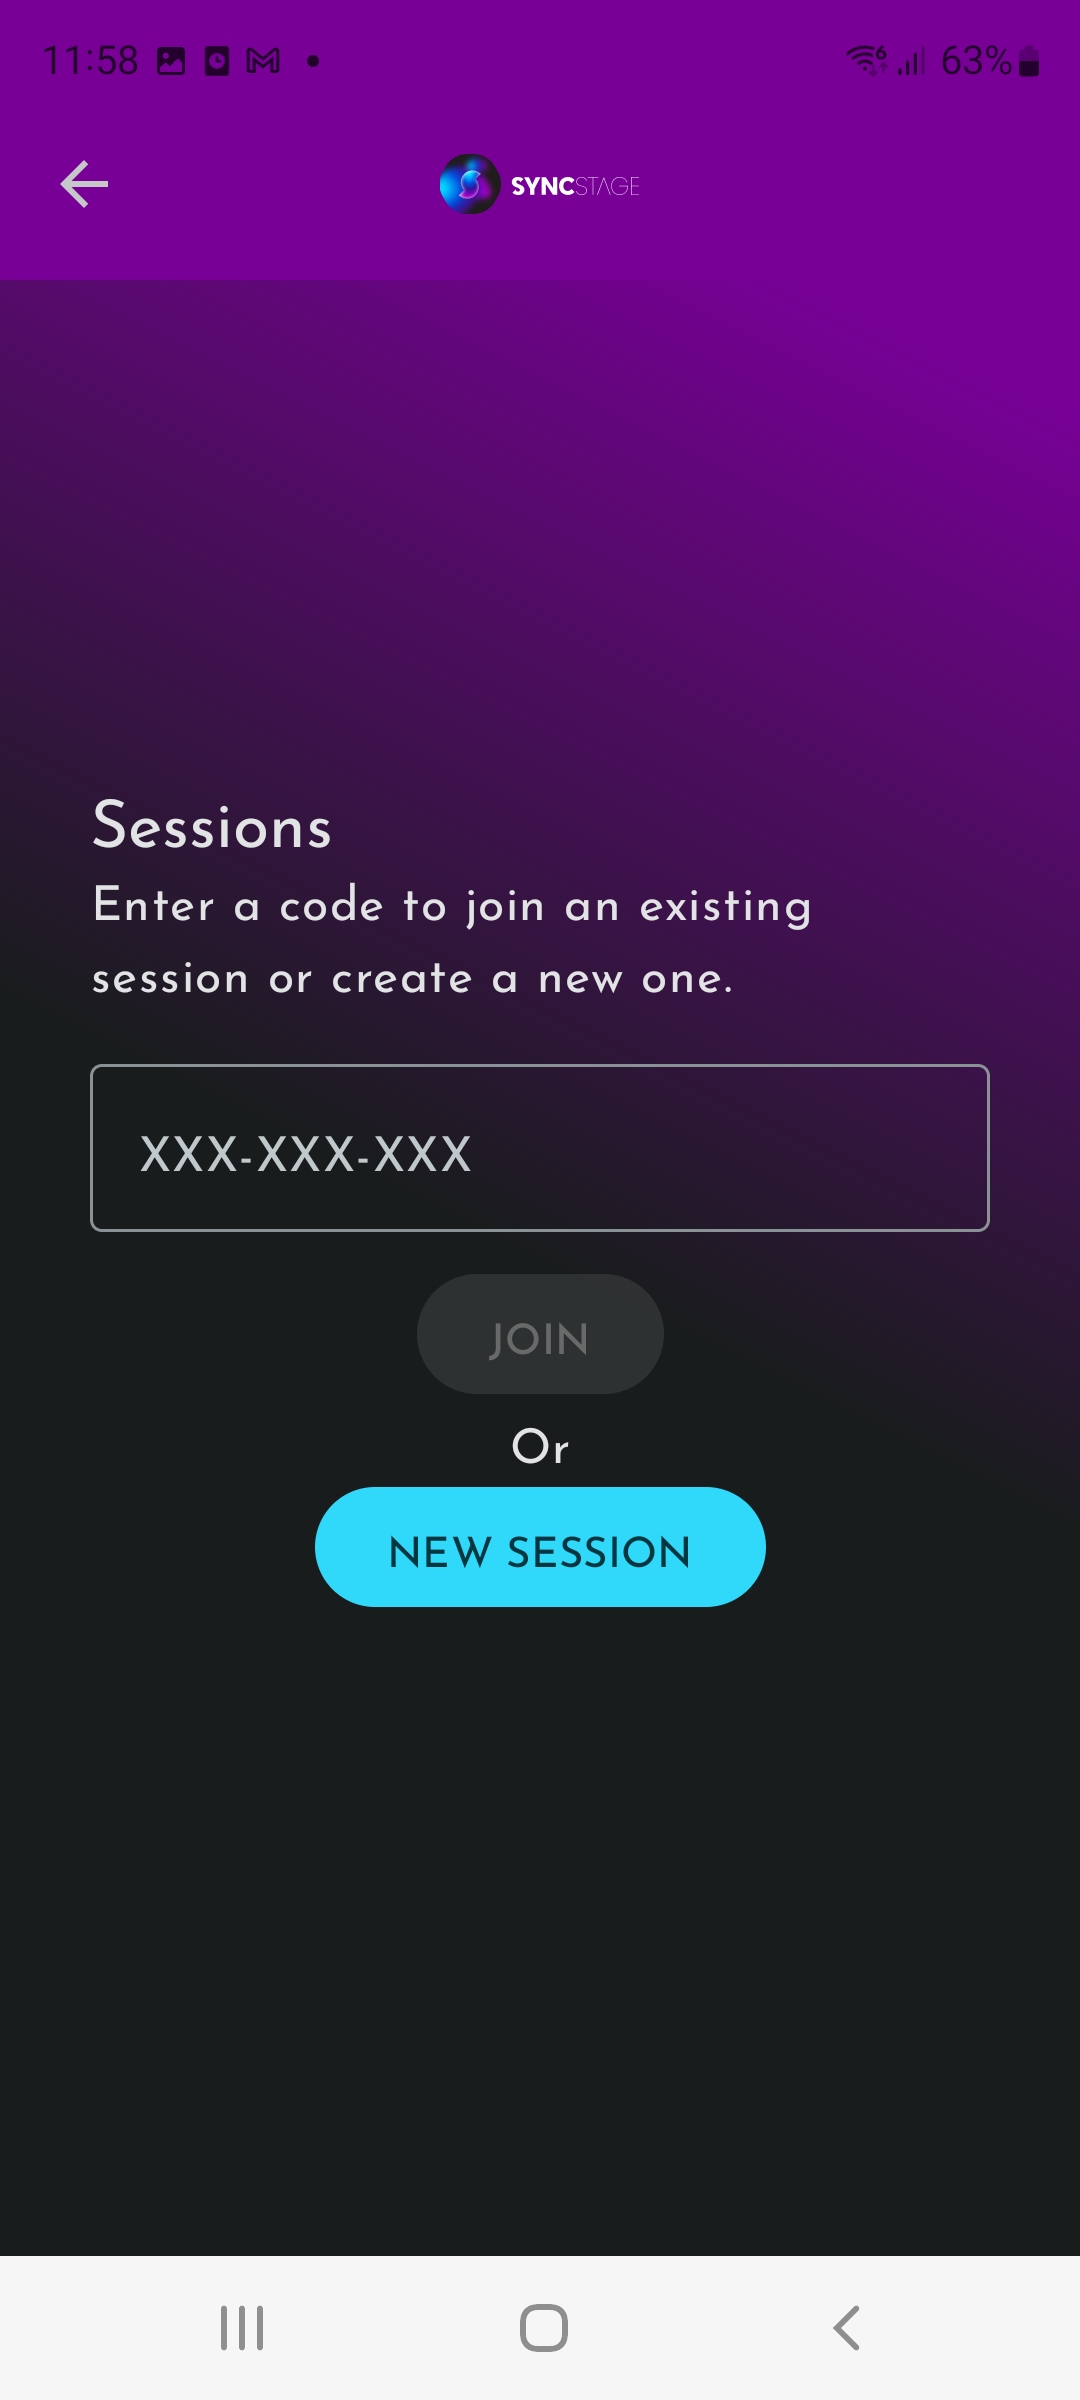
- Click on the New Session button.
- Share the session code and wait for others to join you.
| Provide nickname | Automated server discovery | Discovery results |
|---|---|---|
 |
 |
 |
| Create a session | Invite others |
|---|---|
 |
 |
Join a session#
- Provide a nickname, e.g. User-2.
- Let SyncStage find the best Studio Server location.
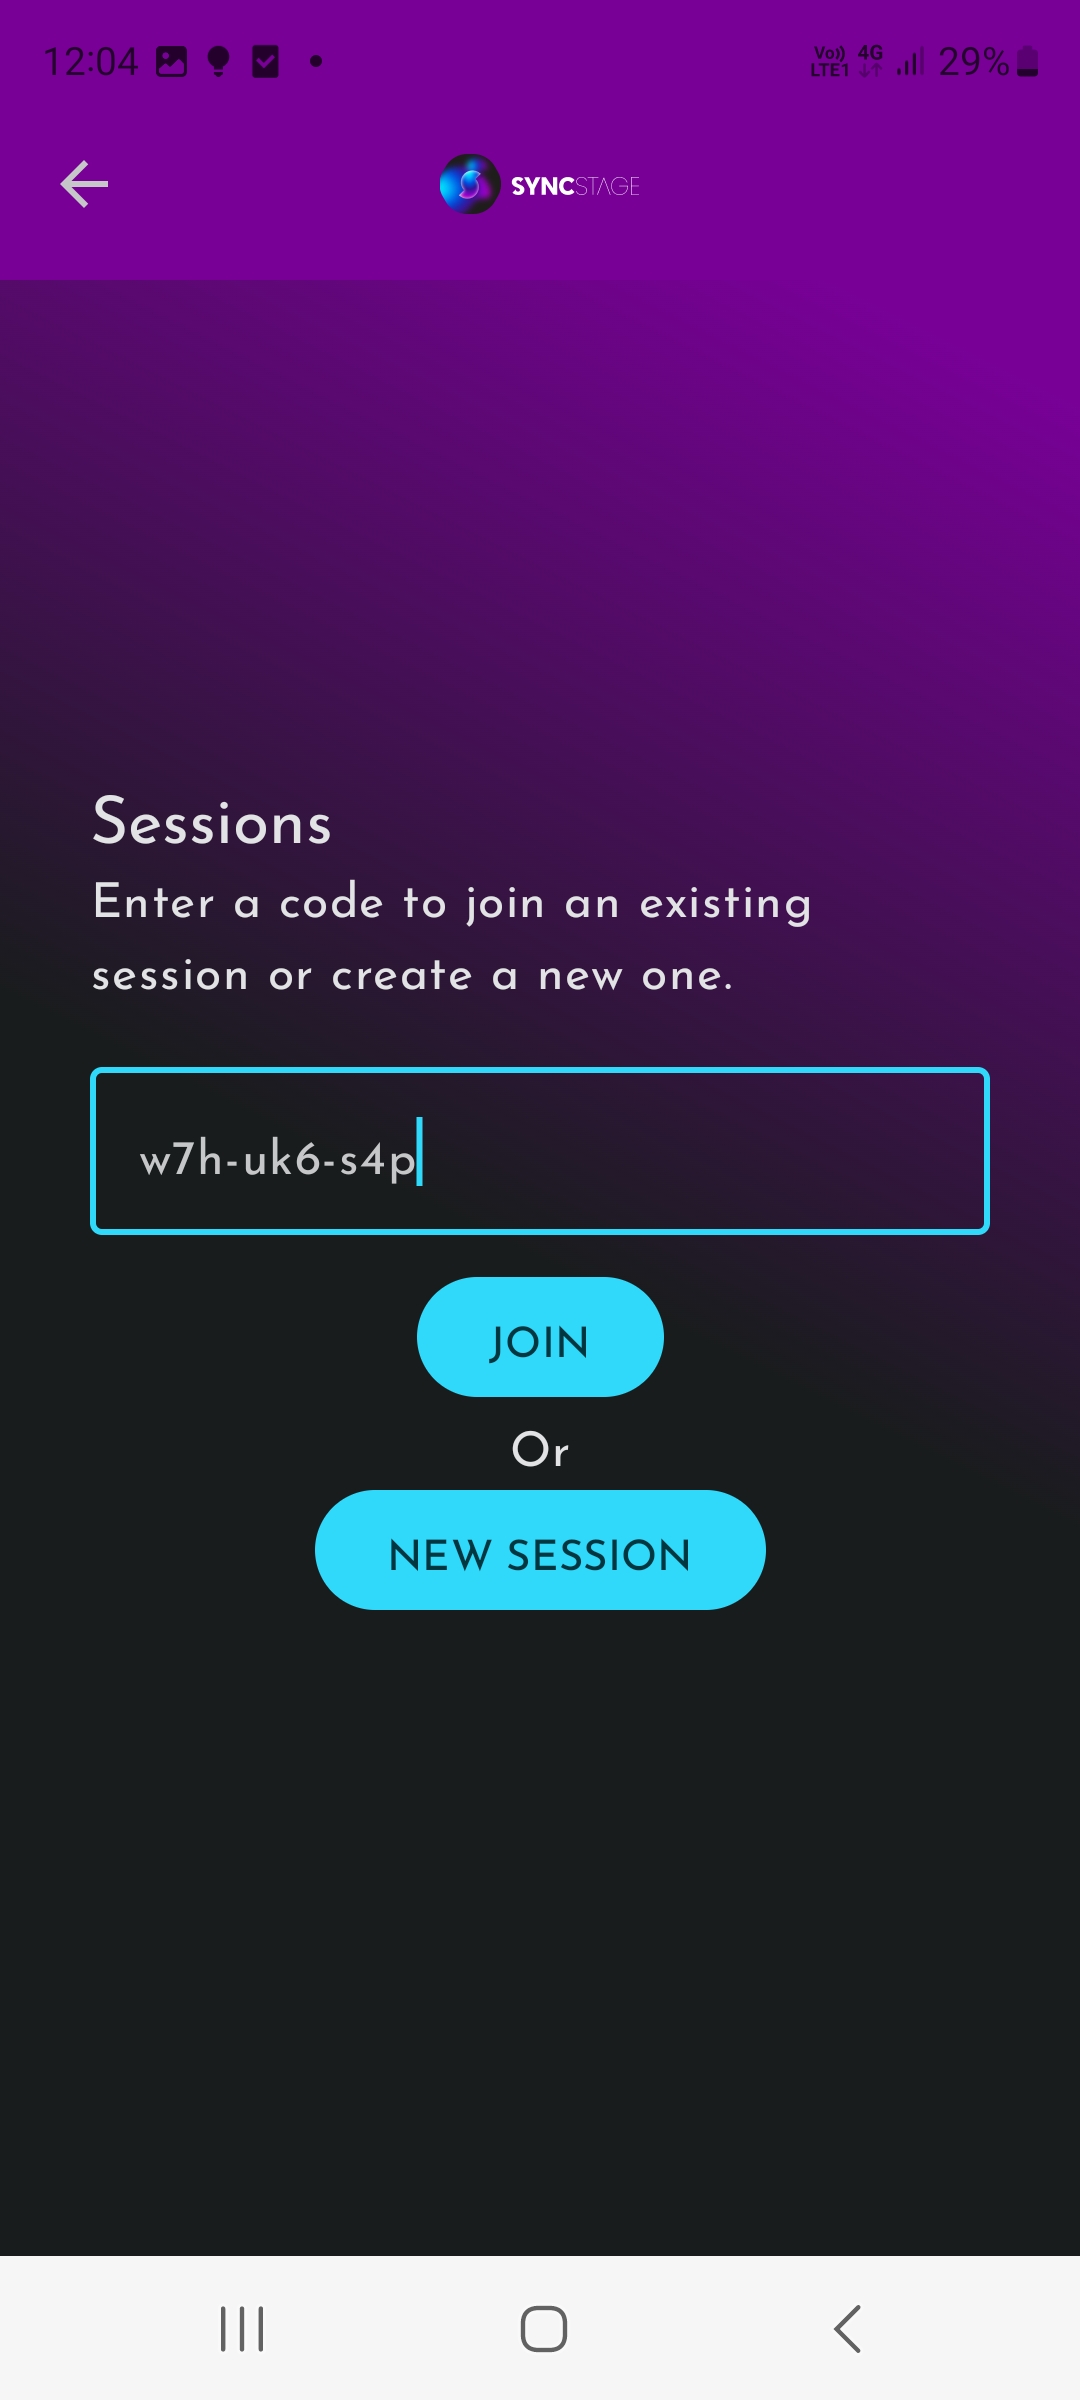
- Input the session code.
- Click on the Join button.
- Now User-1 and User-2 are ready to have a session together!
Note
Currently, Studio Server discovery results for users that are joining the session are ignored - they join the session in the same location as the session creator. This is going to change in future releases.
| Provide nickname | Automated server discovery | Discovery results |
|---|---|---|
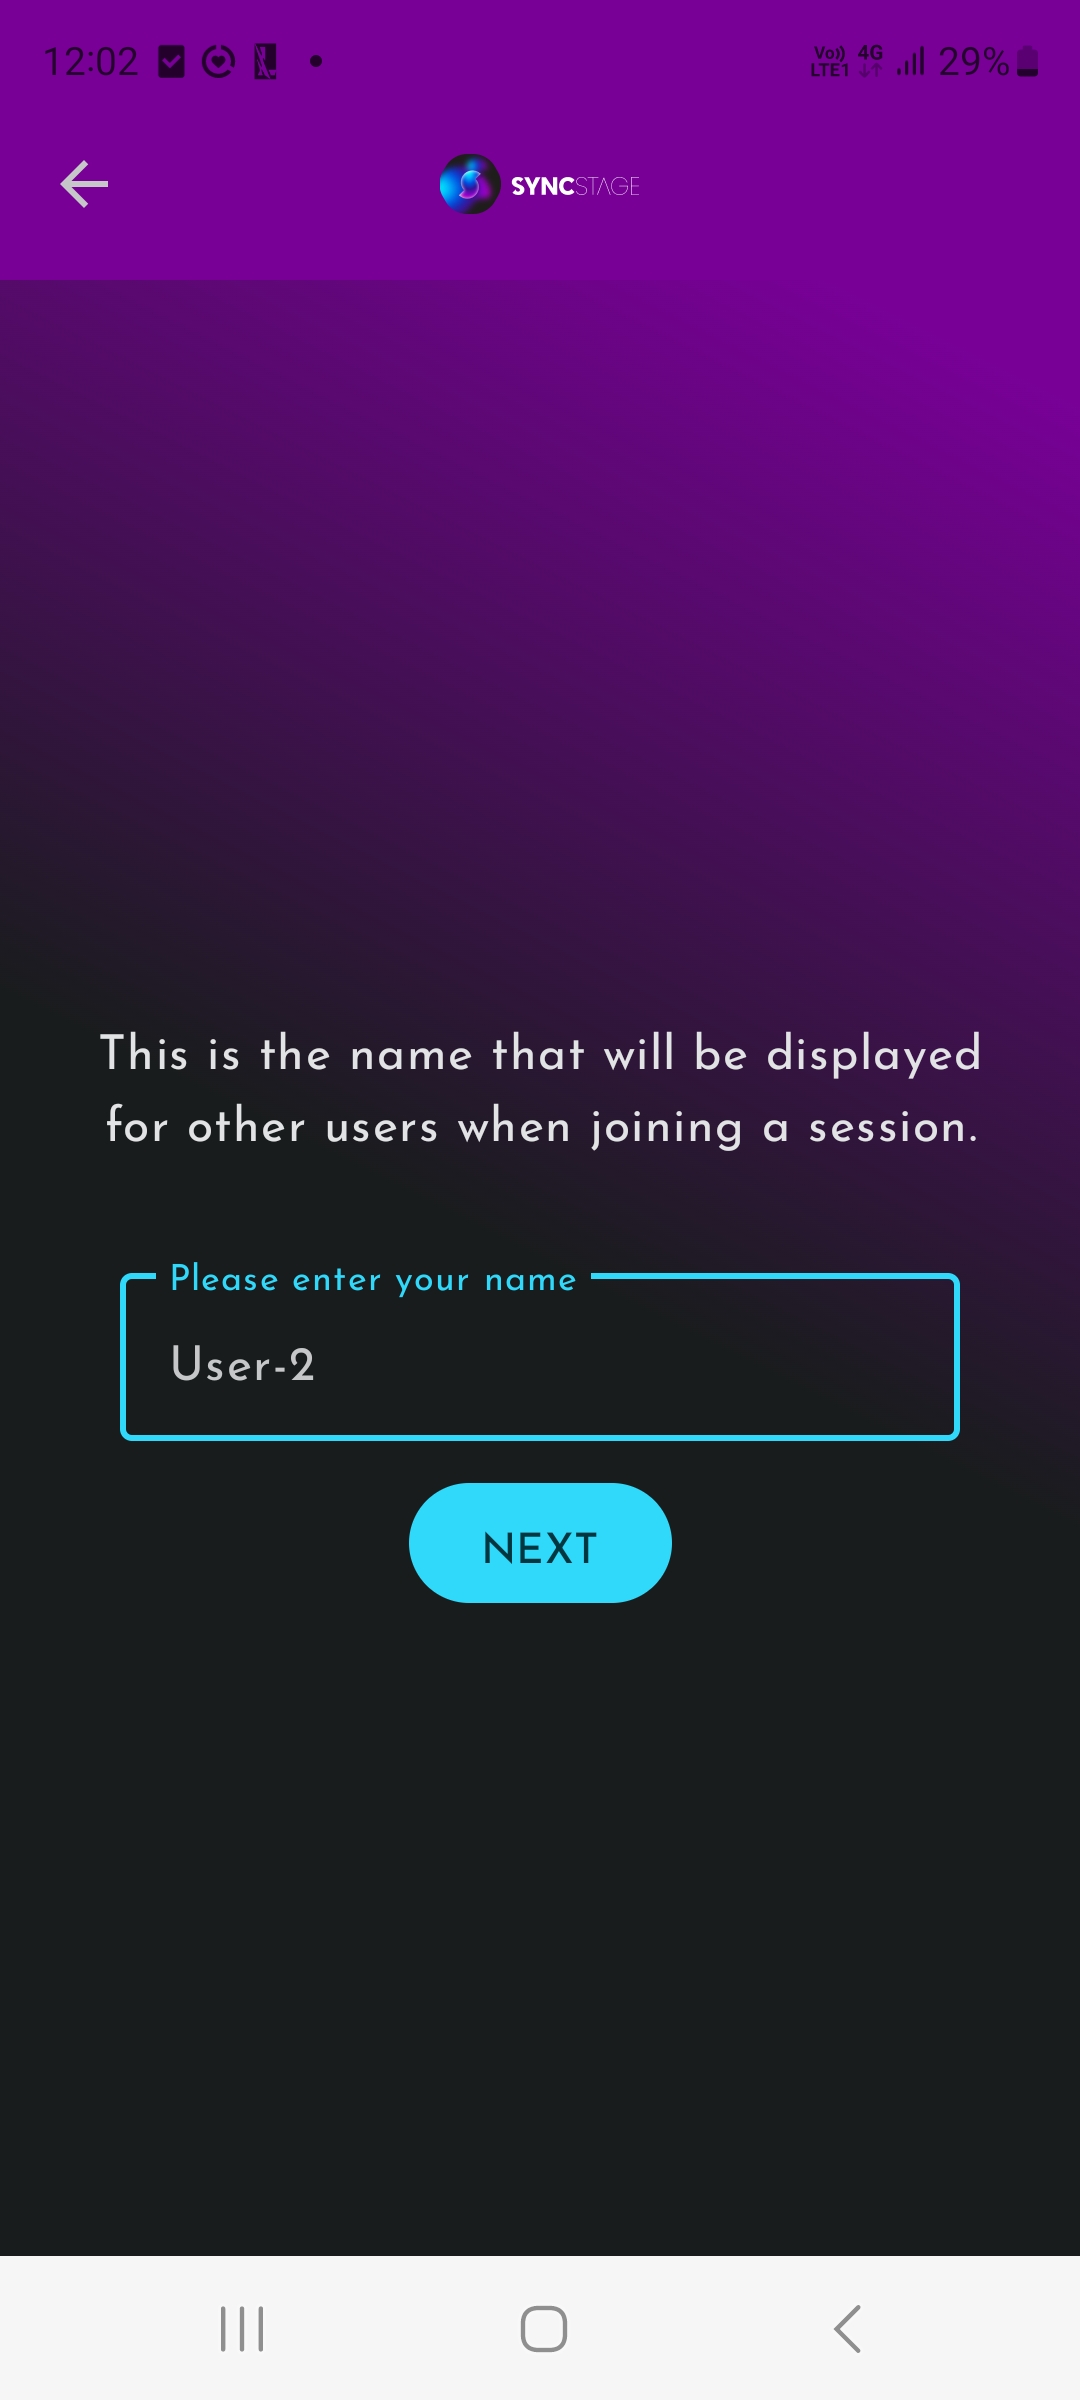 |
 |
 |
| Join a session | Invite others |
|---|---|
 |
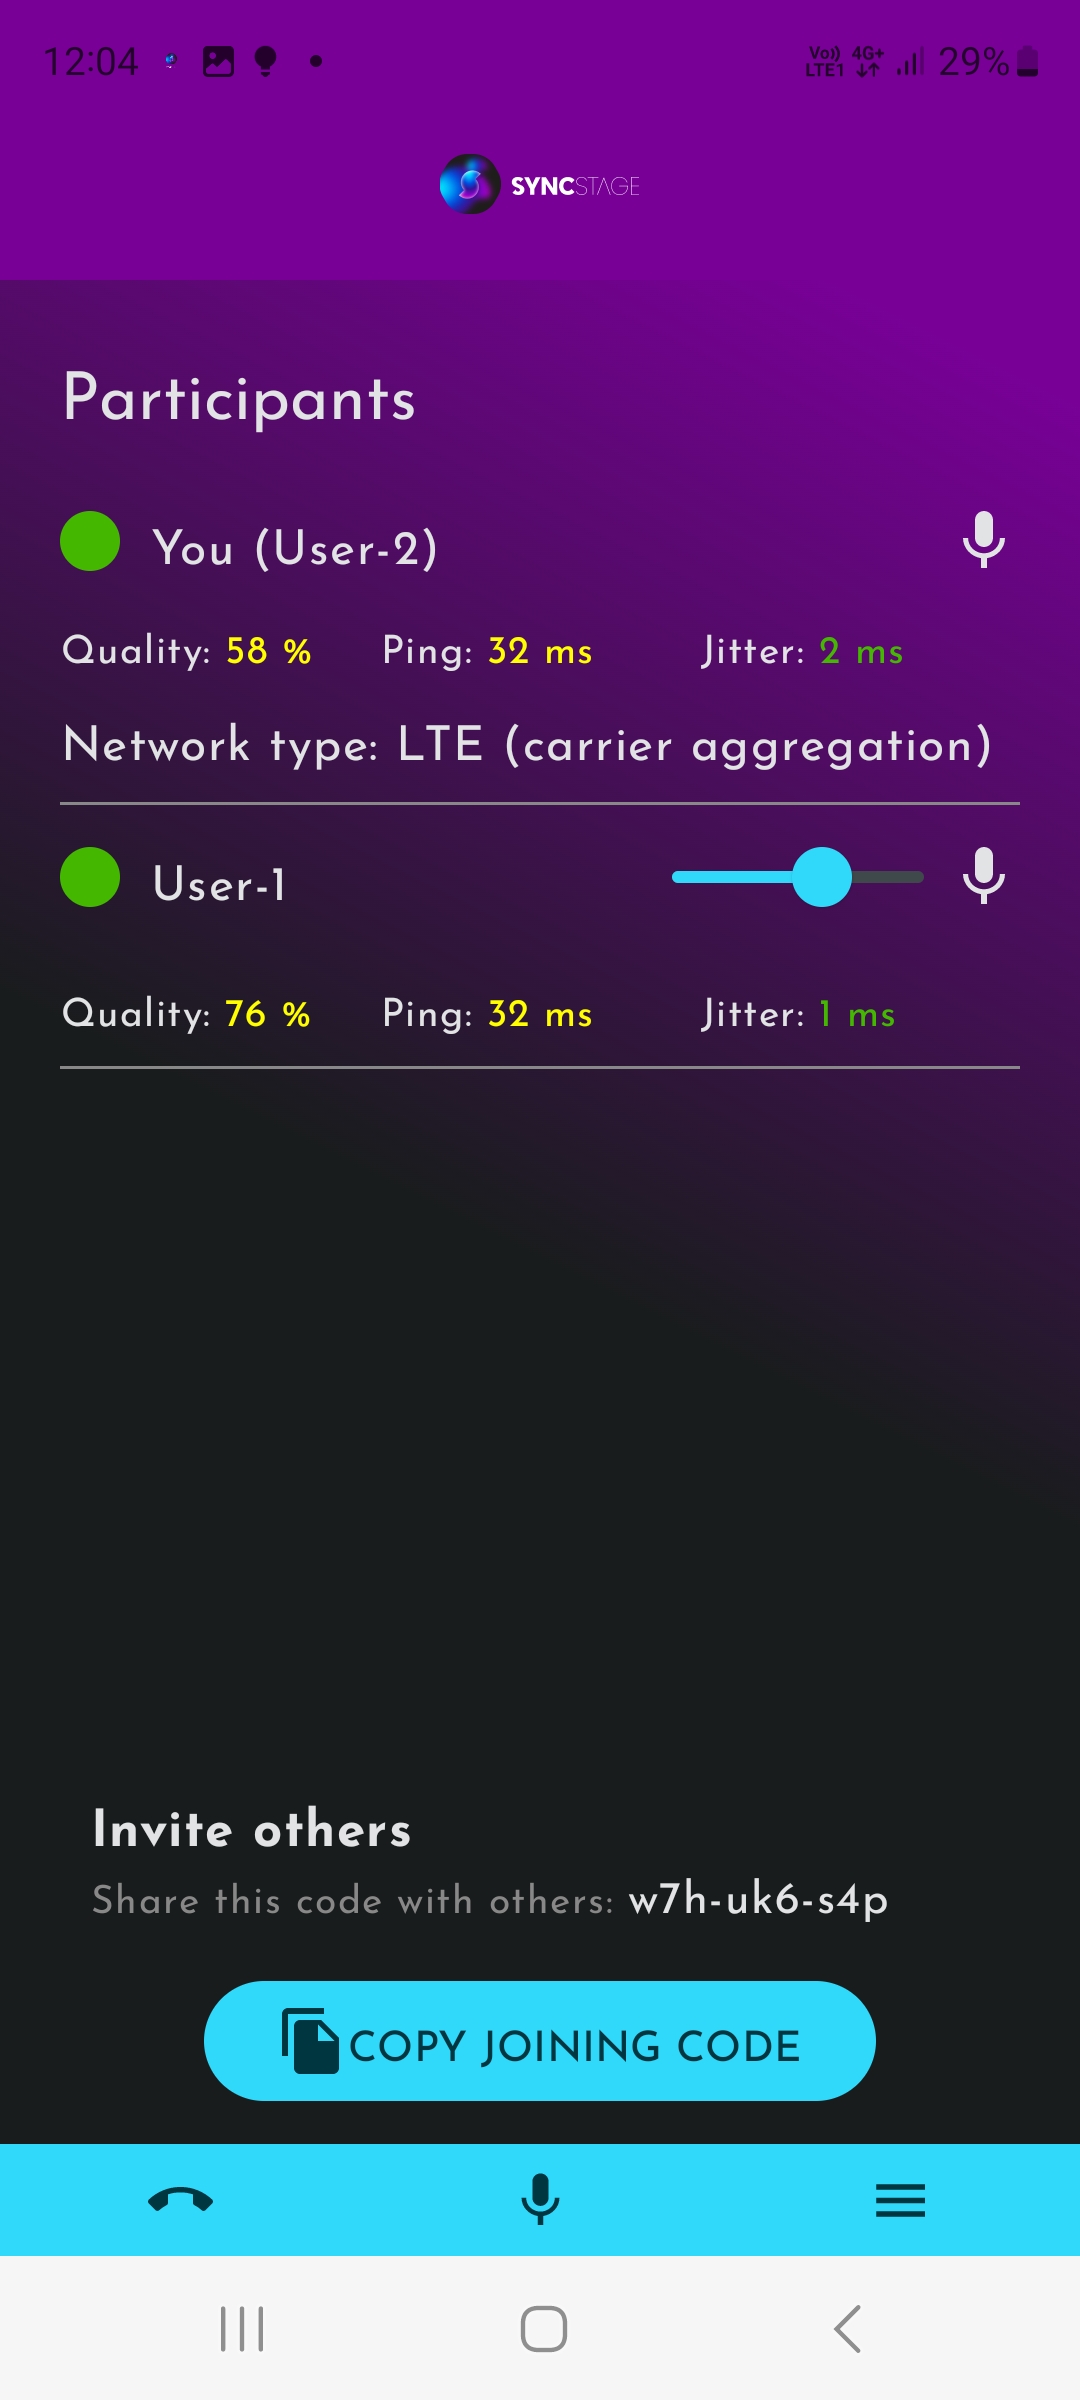 |
Currently, SyncStage’s audio pipeline supports sessions with **up to 8 users. **
Other functionalities#
You can control volume levels of all participants on your end, each app user can mix volumes according to their needs. Anytime you can mute / unmute yourself or simply leave the session.
Enable crashlytics#
You can track any issues in your app with SyncStage SDK using Firebase and crashlytics. In order to enable this feature you need to create a project in Firebase console and add google-services.json credentials to the app/ directory and uncomment following lines in app/build.gradle file:
...
//    // TO BE UNCOMMENTED FOR CRASHLYTICS
//    id 'com.google.gms.google-services'
//    id 'com.google.firebase.crashlytics'
...
//    // TO BE UNCOMMENTED FOR CRASHLYTICS
//    implementation platform('com.google.firebase:firebase-bom:31.2.2')
//    implementation 'com.google.firebase:firebase-crashlytics-ktx'
//    implementation 'com.google.firebase:firebase-analytics-ktx'
...